Drawing is one of the most accessible and rewarding forms of artistic expression, and sketching is the perfect way to start your journey as an artist. Whether you’re looking to capture fleeting moments, create detailed works of art, or simply express your ideas, sketching is the foundation of all drawing techniques. As a beginner, you might feel overwhelmed by the idea of drawing, but with some simple guidance and practice, you can start sketching confidently in no time.
In this article, we’ll explore the basics of sketching, including the tools you’ll need, essential techniques to get started, and how to build a solid foundation to improve your skills. Let’s dive in!
1. Essential Sketching Tools
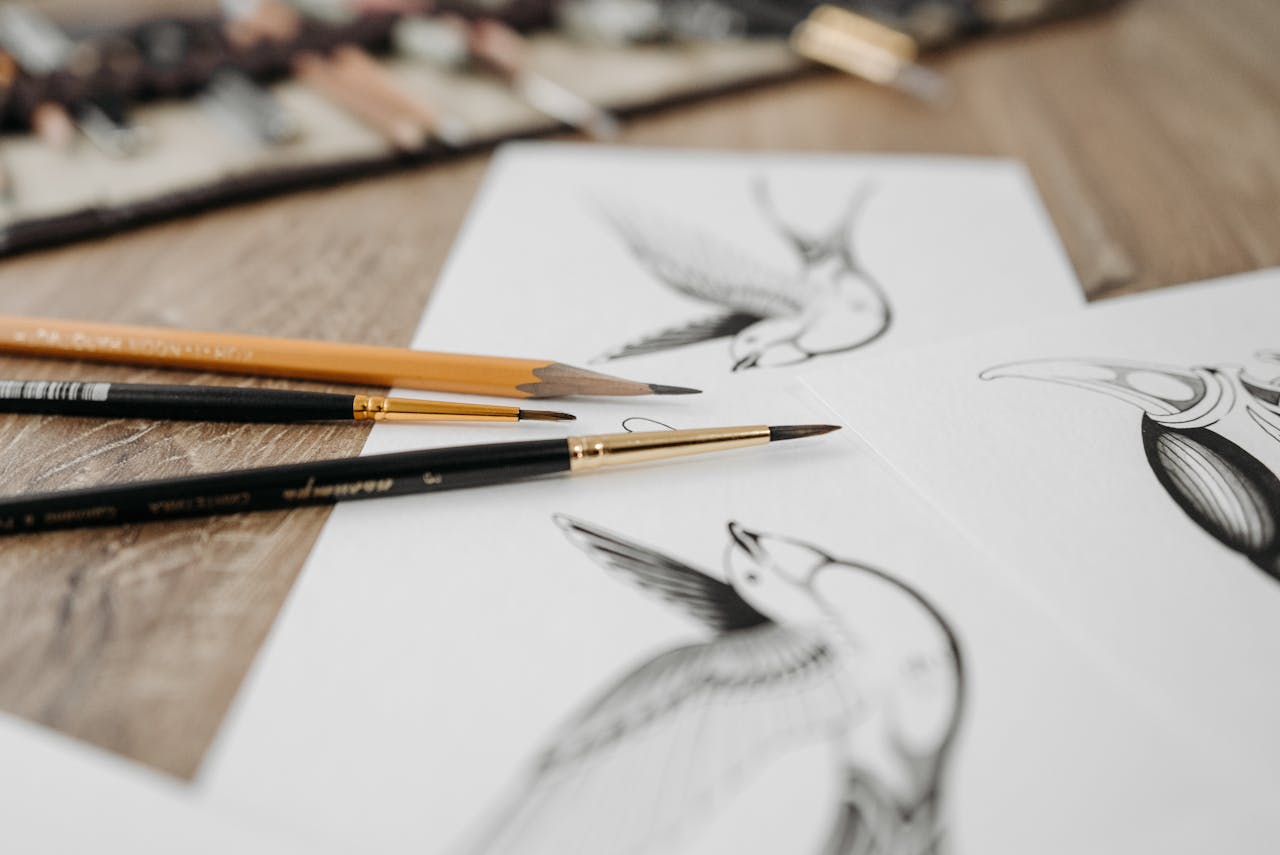
Before you start sketching, you need to gather a few essential tools. Luckily, sketching is one of the most inexpensive forms of art, and you can create amazing drawings with just a few basic materials.
Pencils:
Pencils are the primary tool for sketching. It’s important to understand the different types of pencils available:
- H (Hard Pencils) – These pencils are lighter and give a more precise, fine line. They are perfect for initial sketches and lighter shading. The higher the number (e.g., 2H, 4H), the harder the pencil.
- B (Soft Pencils) – These pencils are darker and softer, great for adding depth and shading. The higher the number (e.g., 2B, 6B), the softer and darker the pencil.
- HB – A middle range pencil that is good for general sketching.
Erasers:
An eraser is just as important as your pencil. You’ll need one to refine your work, correct mistakes, or lighten areas for smoother shading. A soft eraser is great for erasing large areas, while a kneaded eraser is perfect for creating subtle highlights.
Paper:
For beginners, a basic sketchbook with smooth, medium-weight paper will work fine. If you’re working with pencil, try to avoid paper that’s too rough, as it will create uneven lines and may make it difficult to achieve the clean look you want.
2. Holding Your Pencil
The way you hold your pencil can drastically change the effect of your sketches. There are a few different grips, but the most common ones are:
The Traditional Grip:
- Hold the pencil like you would a pen or pencil to write.
- This is ideal for detailed, controlled work and works well for precise lines.
The Underhand Grip:
- Hold the pencil at the base with your fingers and allow it to rest on your hand.
- This grip allows for more fluid, sweeping motions and works great for broader strokes or shading.
The Extended Grip:
- Hold the pencil further back for broader strokes and less control.
- This method is great for sketching lightly and quickly, especially when you’re working on a larger area.
3. Basic Sketching Techniques
Now that you’ve got your tools and pencil grips sorted out, it’s time to dive into some basic techniques that will help you get started with sketching.
Start with Simple Shapes
All objects, whether complex or simple, are made up of basic shapes. Start by sketching simple shapes like circles, squares, and triangles to form the basis of your drawings. For example, when drawing a human figure, you might begin with an oval for the head, rectangles for the torso and limbs, and circles for joints.
Light Lines First
When you begin your sketch, always use light lines. These initial lines should be quick and gentle, allowing you to adjust proportions and shapes as needed. You can always go back and darken lines later, but starting with light strokes gives you more flexibility to make changes.
Use Guidelines
Guidelines help you keep proportions accurate, especially when drawing complex subjects like people or animals. Lightly draw a centerline or guidelines for symmetry. For instance, when drawing a face, you might draw a vertical line down the center of the face and horizontal lines for the placement of the eyes, nose, and mouth.
Focus on Proportions
Understanding proportions is essential to making your sketches look realistic. For example, in portraiture, the eyes are generally positioned halfway down the face, and the length of the head is approximately five eye widths wide. Keeping proportions in mind will help your sketches appear balanced and lifelike.
Shading and Texture
One of the most exciting parts of sketching is adding depth and dimension through shading. Start by observing how light falls on objects in real life, and apply that to your sketch. To create shading, press lightly for softer shadows and harder for darker areas. Experiment with different shading techniques like cross-hatching (drawing lines in one direction and then in another) and stippling (using dots to build up tones).
4. Practice, Practice, Practice
Sketching is a skill that improves with practice, so don’t be discouraged if your first attempts don’t turn out as expected. Start by sketching simple objects around you, such as fruit, books, or cups. As you grow more comfortable, try more complex subjects like human figures, animals, or landscapes.
Here are some ways you can practice:
- Quick Sketching: Set a timer for 1-3 minutes and sketch objects or scenes as quickly as you can. This exercise will help you loosen up and draw more confidently.
- Gesture Drawing: Focus on capturing the basic shapes and movement of a subject rather than intricate details. This is great for improving your speed and learning to capture life-like motion.
- Still Life Sketching: Set up a still life arrangement with a few objects and focus on capturing them as accurately as possible, paying close attention to proportions and shading.
5. Overcoming Challenges and Building Confidence
It’s natural to face challenges when learning how to sketch, especially if you’re a beginner. Don’t be afraid to make mistakes—each mistake is an opportunity to learn and grow! Here are a few tips for overcoming common obstacles:
- Don’t Rush: Take your time with each sketch. Sketching is not about completing it as quickly as possible, but about learning and improving with each attempt.
- Learn from Mistakes: If something looks off, step back and analyze it. Understand what went wrong, and try again. Sometimes it’s just about adjusting the proportions or adding more contrast to the shading.
- Embrace Imperfection: Sketches are meant to be loose and fluid. Don’t aim for perfection right away. The beauty of sketching lies in its ability to be expressive and free.
Conclusion
The basics of sketching can seem intimidating at first, but with the right tools, techniques, and plenty of practice, anyone can learn how to draw. Start small, focus on the fundamentals, and most importantly—have fun with it! Sketching is all about exploring your creativity and finding your own unique style.
So grab your pencil, your sketchbook, and start practicing today. With patience and persistence, you’ll be amazed at how much you can improve and how much you’ll enjoy the process of sketching!