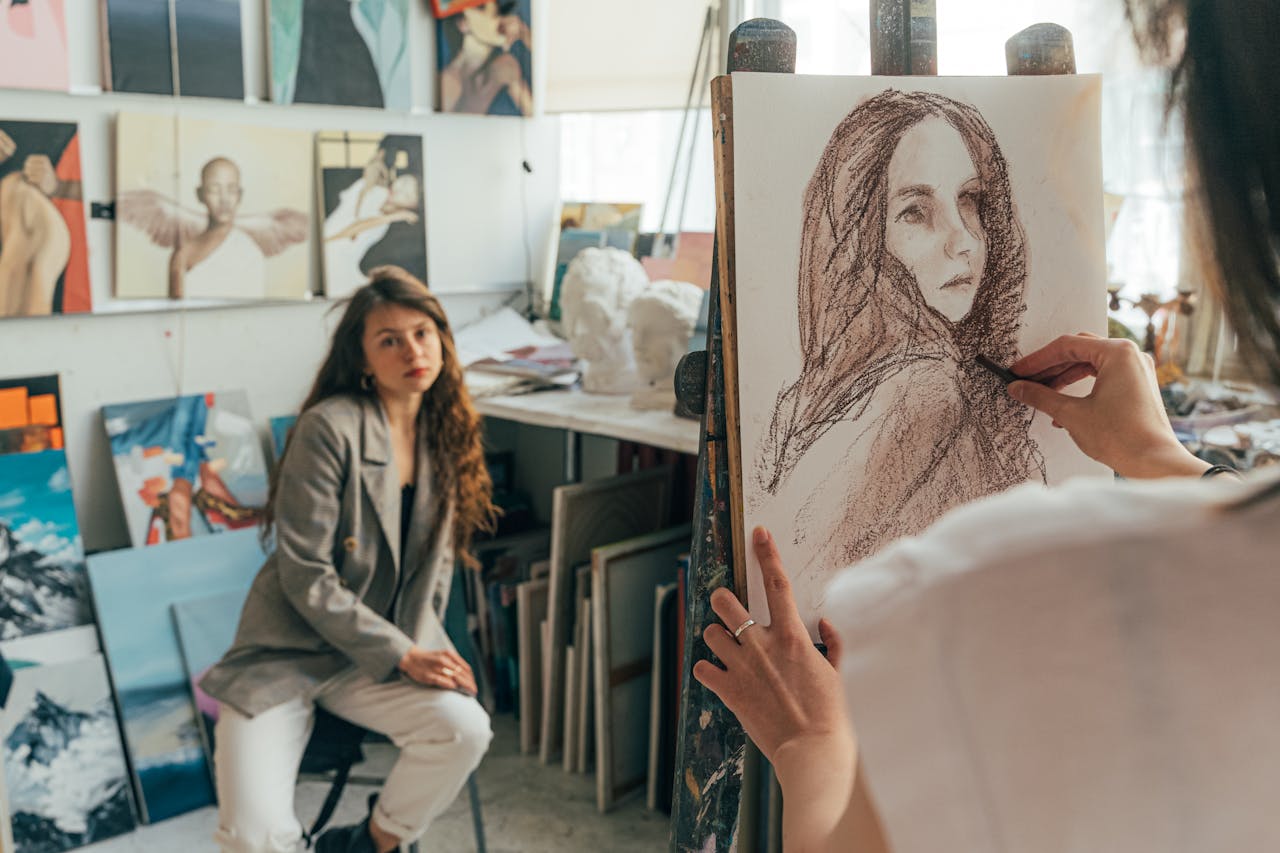
Achieving realism in drawing is not just about shading or detail—it begins with mastering proportions. Proportions determine how the elements of a subject relate to each other in terms of size and placement. Whether drawing a human figure, an animal, or an object, understanding and applying the principles of proportion ensures your artwork looks balanced, accurate, and lifelike.
In this guide, we’ll explore why proportions matter, common mistakes to avoid, and effective techniques to help you improve your drawing accuracy.
Why Are Proportions Important in Drawing?
Proportions serve as the foundation of a realistic drawing. When proportions are incorrect, even the most detailed shading or color work won’t be able to compensate for distortions in size relationships. Proper proportions ensure that:
- Figures and objects appear natural and harmonious.
- Perspective and depth are accurately conveyed.
- Your drawings evoke a sense of realism, even in stylized art.
Many beginners struggle with proportions, but by learning key techniques, you can quickly improve and make your drawings more convincing.
Common Proportion Mistakes and How to Fix Them
Understanding common proportion mistakes can help you recognize and correct errors in your work. Here are some of the most frequent challenges artists face:
1. Over- or Under-Sizing Certain Features
- Mistake: Making the head too large or too small in relation to the body.
- Fix: Use a basic measurement system, such as the “head count” method (e.g., the average adult figure is about 7-8 heads tall).
2. Misaligned Features in Portraits
- Mistake: Placing the eyes too high or making the nose too long.
- Fix: Follow standard face proportions: eyes are usually halfway down the head, the nose is halfway between the eyes and chin, and the mouth is one-third of the way down from the nose.
3. Distorted Limb Length in Figures
- Mistake: Arms or legs appear too short or too long compared to the torso.
- Fix: Remember that fingertips generally reach mid-thigh when arms are at rest, and the legs make up about half of total body height.
4. Perspective Errors
- Mistake: Objects look stretched or flattened when drawn from an angle.
- Fix: Use perspective guidelines and vanishing points to maintain correct proportions in three-dimensional space.
Techniques for Mastering Proportions
If you struggle with proportions, don’t worry—there are several effective techniques to help train your eye and hand to draw more accurately.
1. The Grid Method
A grid overlay can help break down a complex subject into smaller, more manageable sections. Here’s how it works:
- Divide your reference image into equal squares.
- Draw a matching grid on your paper.
- Focus on copying one square at a time to maintain correct proportions.
2. Comparative Measurement
This technique involves using one part of the subject as a reference to measure others. For example:
- Use the width of the head to compare body proportions.
- Check how many times one feature (e.g., the eye width) fits across the face.
3. The Envelope Method
- Begin by sketching a loose geometric shape (an “envelope”) that encloses the subject.
- Gradually refine the shape by adding details while keeping proportions in check.
4. Sight-Size Drawing
This method is particularly useful for life drawing:
- Extend your arm and use a pencil or thumb to measure distances.
- Compare measurements directly to your drawing to ensure accuracy.
5. Gesture Drawing for Quick Proportion Studies
- Draw fast, loose sketches to capture the overall structure before refining details.
- Focus on the relationship between body parts rather than individual features.
Applying Proportions to Different Subjects
1. Human Figures
- The average adult is 7-8 heads tall.
- The elbows align with the waistline, and the knees are at half the leg length.
- The hands should be about the same length as the face.
2. Portraits
- The eyes sit halfway between the top of the head and the chin.
- The width of the nose is about the same as the distance between the inner corners of the eyes.
- The ears align with the eyebrows and bottom of the nose.
3. Animals
- Different species have distinct proportional relationships; for example, a dog’s head is about one-third of its total body length, while a cat’s legs are longer relative to body size.
- Use basic shapes to construct animal forms before refining details.
4. Objects and Still Life
- Keep perspective in mind—objects farther away appear smaller due to foreshortening.
- Use guidelines and vanishing points to maintain consistent proportions when drawing multiple objects in a scene.
Practicing Proportions: Exercises to Improve Your Skills
1. Quick Proportion Sketches
Set a timer for 5-10 minutes and sketch a subject quickly, focusing only on proportions rather than details.
2. Copying Master Drawings
Study how great artists like Leonardo da Vinci and Michelangelo used proportions in their work. Try recreating their sketches to understand their approach.
3. Life Drawing Sessions
Practice drawing people, animals, or objects from direct observation. This helps train your eye to see proportions more accurately.
4. Upscaling and Downscaling
Take a small reference image and try enlarging it while keeping proportions correct—or shrink a large subject down to a smaller size.
5. Using a Mirror or Flipping the Canvas
Looking at your drawing in a mirror (or flipping it digitally) helps reveal proportion errors you might not have noticed.
Conclusion
Mastering proportions is one of the most important skills an artist can develop. Without accurate proportions, even the most detailed and well-shaded drawings can appear distorted. By practicing measurement techniques, studying real-life references, and training your observational skills, you’ll improve your ability to create realistic and well-balanced artwork.